Tuesday, December 23, 2014

Painting your favorite ornament- a tutorial!

I wanted to wish everyone a very Merry Christmas and give you all a little gift of art this Christmas. We have been painting ornaments for the last few weeks and I thought I would give you a tutorial on painting glittery ornaments since it can be a bit overwhelming to capture all the lights, twinkle and glitter. Diane sent me a photo of an ornament she was trying to paint for our Friday Challenge so that is my subject matter.


This time of year gives us a great way to practice some challenging textures and surfaces. I hope you enjoy this video and have a wonderful holiday!
Diane's ornament from Desiree Habicht on Vimeo. To make the video larger hit the arrows on the bottom right side of the video screen, esc will make it small again!

This will be our challenge for the next week also!  Because….


I will be off my computer, enjoying the holidays with family and house guests!

Friday, December 12, 2014

Friday Challenge - Capture a Christmas Memory

I love to make handmade ornaments and gifts at Christmas. There is just nothing as nice as getting something that is handmade to me. It says to me that I am important enough to spend my time making this for you!  Each year as I pull out my ornaments to decorate my tree I think about each of the people in my life who have given me that ornament, I pray for them and enjoy this special time.


I love sharing some of my special treasures and I hope you will share some of yours with me. Grab one or two of your favorite ornaments and paint them and then journal about what makes them so special to you!! Then share your little treasure with us but posting your painting or sketch using the linky tool below!


Saturday, December 6, 2014

Shiny verses satin finishes

This was such a great study in my sketching class that I thought I would share it with you. It is painting shiny, reflective surfaces verses satin finishes. With Christmas just around the corner and while you are decorating you tree, take a minute and try this challenge. Get both a shiny and satin ornament and lets get painting.

 We will start with shiny:
 1. When painting a reflective surface remember that the reflection will take on the shape of the reflecting object and skew it. So with the example of our ornament, the image wraps around the round shape of our ornament. It is often hard to paint these weird, skewed images since our brain doesn't get it at first, but be persistent, it will all come together.
2. You also need to make sure you have good values. Lots of lights and darks make it look reflective! 3. Reflections have lots of hard edges, sharp, mirror edges, keep them crisp and strong.

Satin finishes:
 1. Satin finishes are almost the opposite of reflective images since they do not reflect an image but just the light.
 2. When painting your satin ornament make sure you keep all your edges blended and soft, no hard edges.
 3. No strong lights and darks, everything is soft but there is still value changes, just gradual.


 Okay, its your turn, let me see what you have! Give it a go, this is a great seasonal lesson just begging to be sketched and painted.


Friday, November 28, 2014

Black Friday Challenge - Lets paint Black Friday!!

I thought with it being Black Friday, it would  be a perfect time to paint or sketch something black or something related to black Friday.
It could be black cats

Black Bubblebees

Black Mailboxes full of Black Friday ads

Or it could be your favorite black pet. Remember in water color we don't use black or white. Try mixing yellow, blues and reds in different amounts to make your own blacks. There are other black recipes too like purple and green. Experiment with your blacks and see what happens! Whats your favorite Black recipe?

 Impress me with your creativity!!! Come on, impress me. 

Friday, November 14, 2014

Friday Challenge- Lets paint breakfast

Good Morning!!! Rise and shine, let paint our breakfast! I love to have my coffee and breakfast right next to my sketchbook in the morning. I know I have posted my breakfast sketches before but you can never have enough practice, right!? There is no better way to start the day than with a good sketch! Every sketch makes you better and better. 

First I sketch in my breakfast quickly. It important to make sure my ovals are correct depending on my angles. Those ovals have a way of tripping you up in a sketch or painting. If they aren't right your eye will catch it every time you look at the painting. Your brain will say that isn't right! So pay special attention to those ovals. Depending on your angle, the more over the bowl I am, the more round the opening, being a complete circle if I was looking directly down on it. The more off to the side you are the more of an oval it becomes, here is my quick sketch to help you understand what I am saying. Looking directly down over the bowl you see the bottom and a circle, then as you come down the side you see more of an oval top until you are directly along side and see a straight line, then once you travel below the horizon you see the under side of the bowl so the oval is about the same only your view isn't of the inside but of the backside. I hope this helps you when you are drawing anything with a circle like glasses, bowls, cups, etc. 

So I started with my cereal bowl, defining the shapes.


Next I painted the shadow areas, or negative areas around the items. Notice that the shadows are all the same intensity. Make sure you are reading you shadow values too! Let each layer dry or your paint will blend and you will have a mess! It shouldn't take too long.

I now am adding the color on my Cheerios and adding some more dark browns in the shadow areas. The pre applied blue shadow helps to give depth to your first layers of color.


I continue to add color to the bowl and spoon
I add some more shadows, leaving some light areas and add a background. My page is either ready to journal on or I could add a few Cheerios to the page beside this one and use it as the text page if I have a lot to say this morning!

So here is what we went over today:
1. Ovals, get them right
2. laying in shadows first, taking note of softer and stronger shadows.
3. Using color to define shapes and tell more of the story.

I want to challenge you this week to put these three things into practice as you sketch your breakfast this week! I can't wait to see what your eating in the mornings!!! Happy Painting


Sunday, November 9, 2014

Off to paint!!

I am so excited to be able to take a few days to actually just go and paint for fun! I haven't done that in awhile. Here I am painting plein air with my watercolors. Oils are a whole new adventure, plus we are in a studio, phew!

I am thrilled to be taking an oil painting class from Dreama Tolle Perry at The Randy Higbee Gallery in Costa Mesa! It will be three days of oils, which for me, is a huge change. I will be painting and posting so you all can enjoy the experience with me! I can't guarantee that I will paint anything worth writing home about though.  Its just about being out with other artist, playing, laughing and being creative, I can't wait. So check back often to see what we are up too in the studio!

Monday, November 3, 2014

Friday Challenge, Lets paint leaves!!

Its Fall, a perfect time for painting and sketching the wonderful colors that happen at this time of the year. Look around in your area and see what wonderful shapes and colors you can find.

 For my Mug Rug Club I did a video on painting leaves on fabric with colored pencils. Here is my little painted Mug Rug.

 I love this time of year and always go out of my way to catch the ever changing color and leaves!


Washes of watercolor leaves!


A page in my sketchbook! I can't wait to see what wonderful leaves you have in your area! Post your sketches or paintings on my blog with the Linky tool!


Friday, October 10, 2014

Friday Challenge - Painting our Pets

Most of us have a special pet, someone who is always attentive and loving. Pets are a challenge to paint since they move often but with cell phone cameras we can freeze them so we can paint them easier. As an additional challenge this week I would like you to paint some quick sketches with only your paint brush and no pre sketching with pencils. 

Try to capture the shape, movement of the dog or pet. Do several quick paintbrush sketches and if your pet stays still long enough you can add more details. I managed to catch Chloe on a quiet day when she was relaxing out back with us. You will notice she isn't perfect but I captured the moment and in a sketchbook that is the key! Feel free to use my photos if you like and enjoy. 


 This is one of her favorite poses! OUCH


 Sometimes by changing your photos to black and white it will help you see value changes that color sometimes hides.


This is a page in my sketchbook of Chloe laying out back! 

Okay, you know the routine, add your photos when you are ready, I can't wait to see them!

Sunday, October 5, 2014

Friday Challenge- Birds of a feather

Birds are great to draw or paint. Whether you like whimsical or realistic they are fun to do. It seems that they lend themselves to just about anyones style and you can make them almost any shape and it still seems to work!


I love that they can fly, that they are sometimes just wildly colored and other times they are just plain Janes. 


 Sometimes I have paint and sometimes I have just pencil


 Sometimes its not pretty at all, its documenting life and sometimes death with birds. 


Their silhouettes often give them away as you can often tell what kind of bird it is just from its silhouette! 


So this week paint a bird, or a part of a bird, a feather, a bird feeder. Anything that sings to you! Lets see what we can come up with!

Saturday, September 27, 2014

Friday Challenge- Flowers!

Sorry I am just posting this now, yesterday was crazy. I love to draw and paint flowers! I love to paint them realistically or whimsically or just any ole way! There is no right or wrong way. So before winter hits and all the flowers are gone lets do some flower drawings!

Sunflower Sunshine makes me Happy2 (Enhanced) from Desiree Habicht on Vimeo.

I actually just had some note cards printed with one of my favorite paintings with Shutterfly. If you guys haven't tried them you should! If you sign up they are always sending out free coupons, so my notecards were free except for shipping!

These poppies are one of my favorites but then I also like……

These roses! They are so fun and fast to paint, I will do a video demo for you and post here.

And then there is my sketchbook entry from when I visited my mom! What flowers will you sketch or paint this week? Make sure you share them below! 


Friday, September 19, 2014

Friday Challenge- Sketching people in public places like church!!


Most of us want to sketch and paint people but its so scary. They often end up looking like a monster and the sketch never resembles the person we are sketching. Well it takes time and practice to sketch and paint people. Getting practice sketching people in public is challenging too as they always seem to know you are sketching them. I often sketch people in doctors offices, church, airports, restaurants etc. Its best to practice on people who aren't moving until you get the hang of it. So our challenge is to sketch people and if you go to church you can sketch the backs of their heads. Sound easy? Well remember, even though they are round or oval you need to pay attention to value and details to make each head look unique as they are. 

 In church I never have more than my ball point pen and the program so I take notes and sketch. Do you see the kid sitting next to his mom, his chin was actually resting on his fist, he was leaning forward and low in his seat but it made a great grouping. Sometimes I will paint groups of people together and other times just one or two. I all depends on my position and their position.
 In this sketch the girl had a clip in her hair and a nice bulky collar so I tried to capture that, I also got some of her cheek as she was a bit off to the side of my view. Black pen
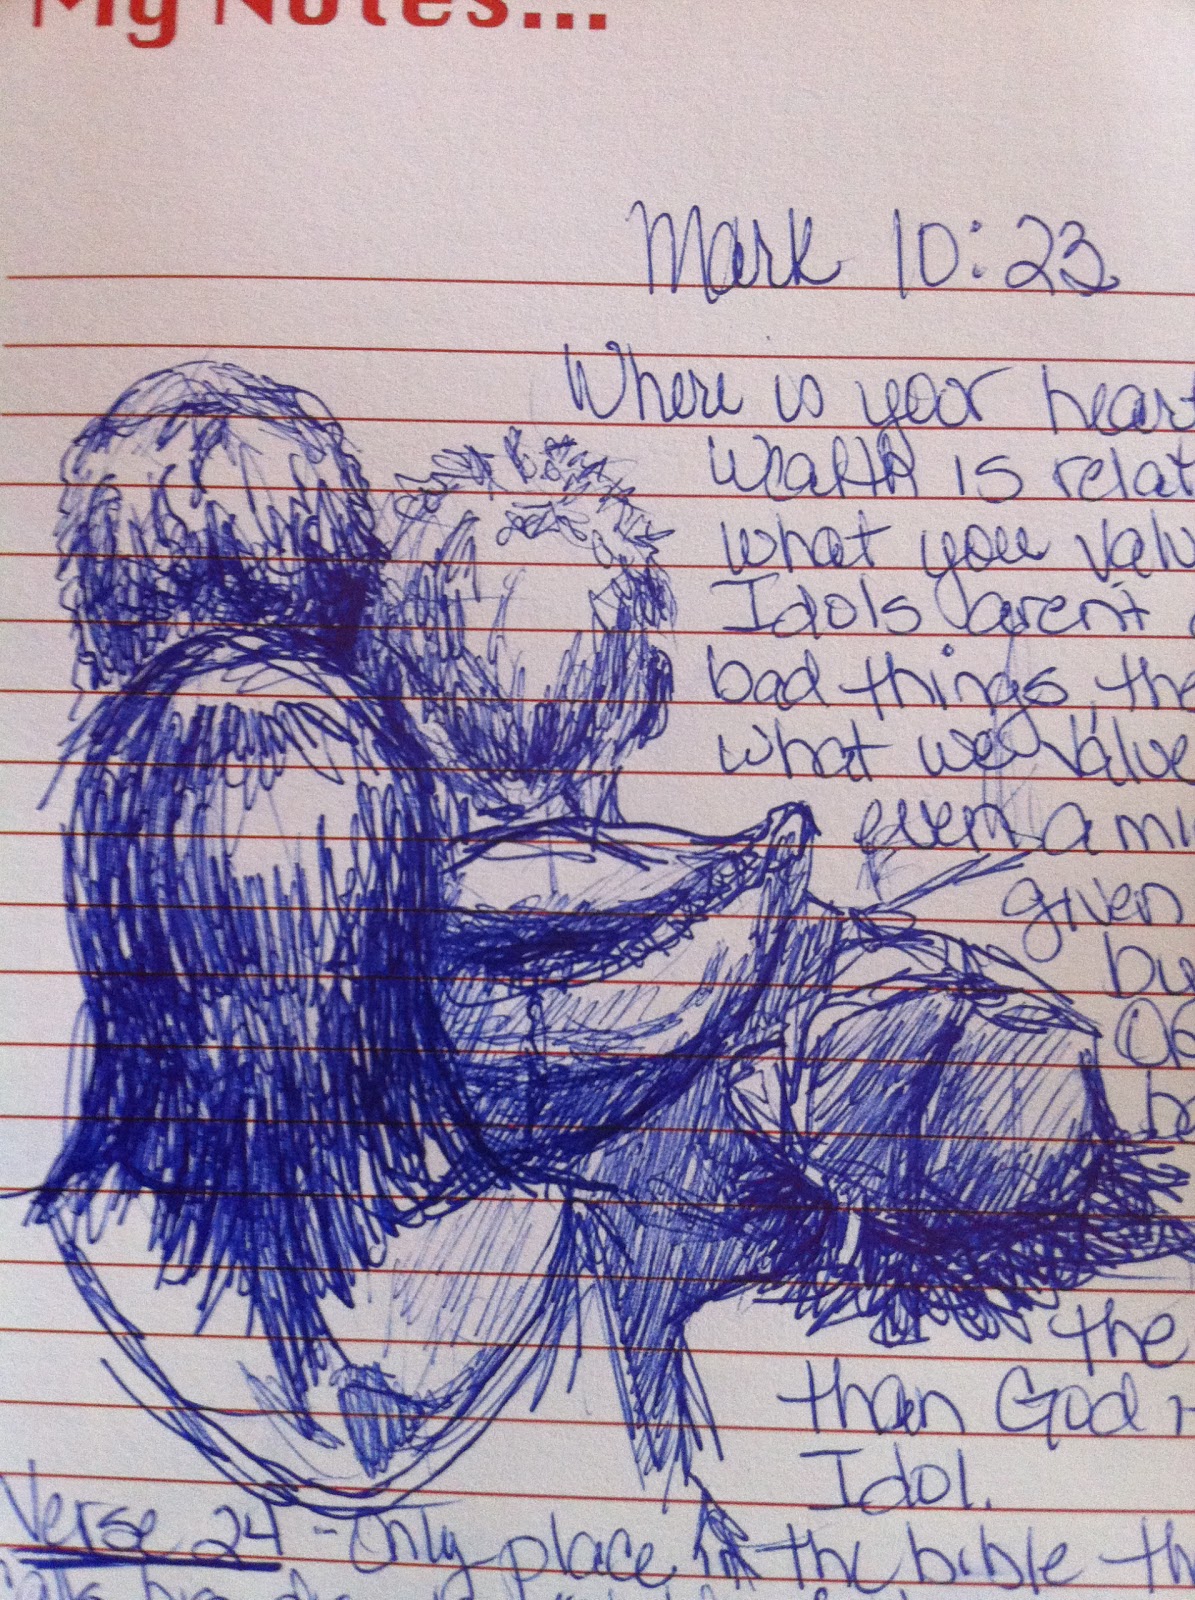
Its so funny about this sketch, I know who this is just by seeing the back of his head, I remember he had just gotten his daughter to start going to church with them and he was excited. His daughters hair was actually tied in a knot and posed a nice challenge for my blue ball point pen.

I actually have sketched many of the people that went to our old church, often not recognizing them until they turned away from me! LOL I will share a story of a special couple we all loved and I actually sketched them from the side so it was a nice side view and they were easily recognizable. He got cancer and passed away, one day as I sat with his wife I gave her that sketch, it wasn't great, but it was so representative of their last days together before he was sick. So remember, these simple sketches are really gifts and memories you are recording.

So as you can see, these aren't masterpiece sketches, they are more like a study of people, their positions, hair, features, ear and glasses placement etc. You can learn a lot just by doing these sketches from behind. Getting the head size right, shoulder width correct, where are the ears on the side of the head, its all important.
Some tips:
1. Heads are usually oval like eggs
2. Ears usually start about 1/2 down on the head
3. Collars usually go up into the hair line when they are wearing collared shirts.
Let me know if you want to learn more about painting people, I will do more lessons on that, what about animals, comment with your feed back.
 Have fun and make sure you post your sketches below with our linky tool! I can't wait to see what you do! I will leave the link open for two weeks 

Saturday, September 13, 2014

Week #3 Friday Challenge, sorry its a bit late- Succulents

This week as I push through the heat I thought it would be nice to paint succulents or cactus. Those amazing plants that are able to thrive most weathers. There are so many different varieties, textures, colors to choose from so have fun!!! Make sure when you are painting these beauties that you notice the blue greens and the tips of color hidden on the leaves and sometimes the stems.


Nice contrast will help you get depth in your paintings. See how dark it is where the stems meet in the middle? That gives you depth! I also started to paint some of the dead leaves. I have added some photos for those who are not near a succulent, and yes they do bloom!